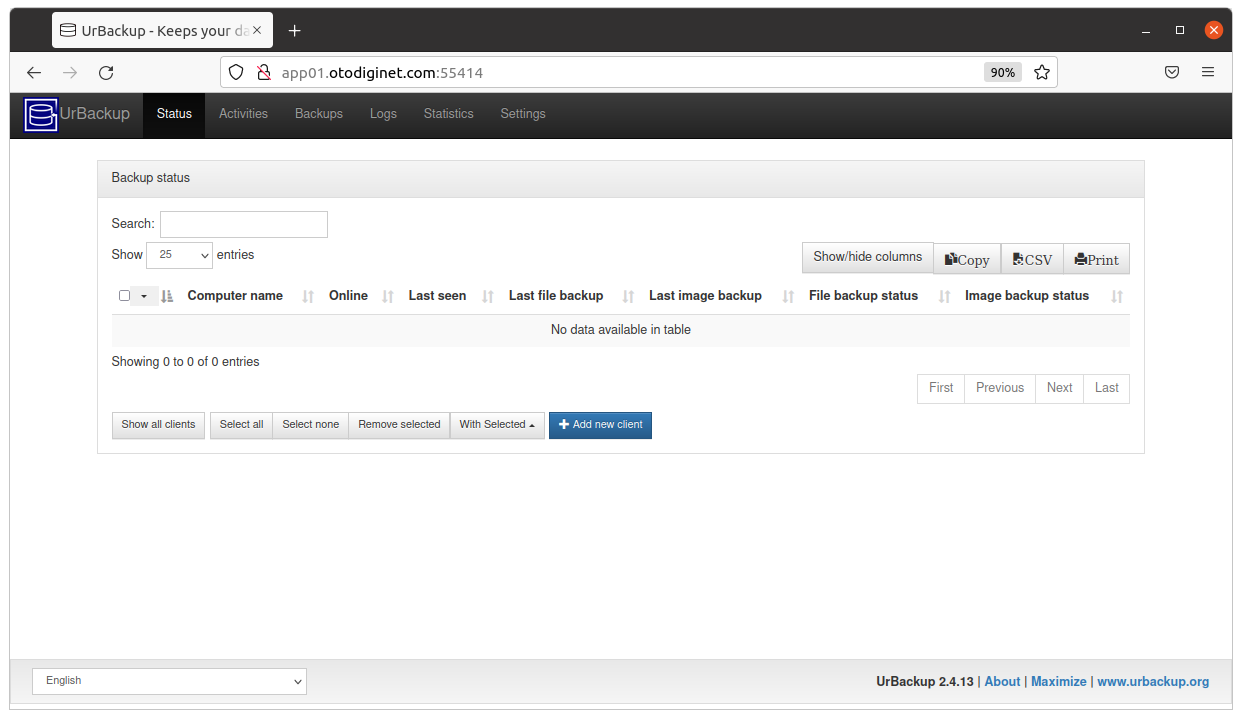
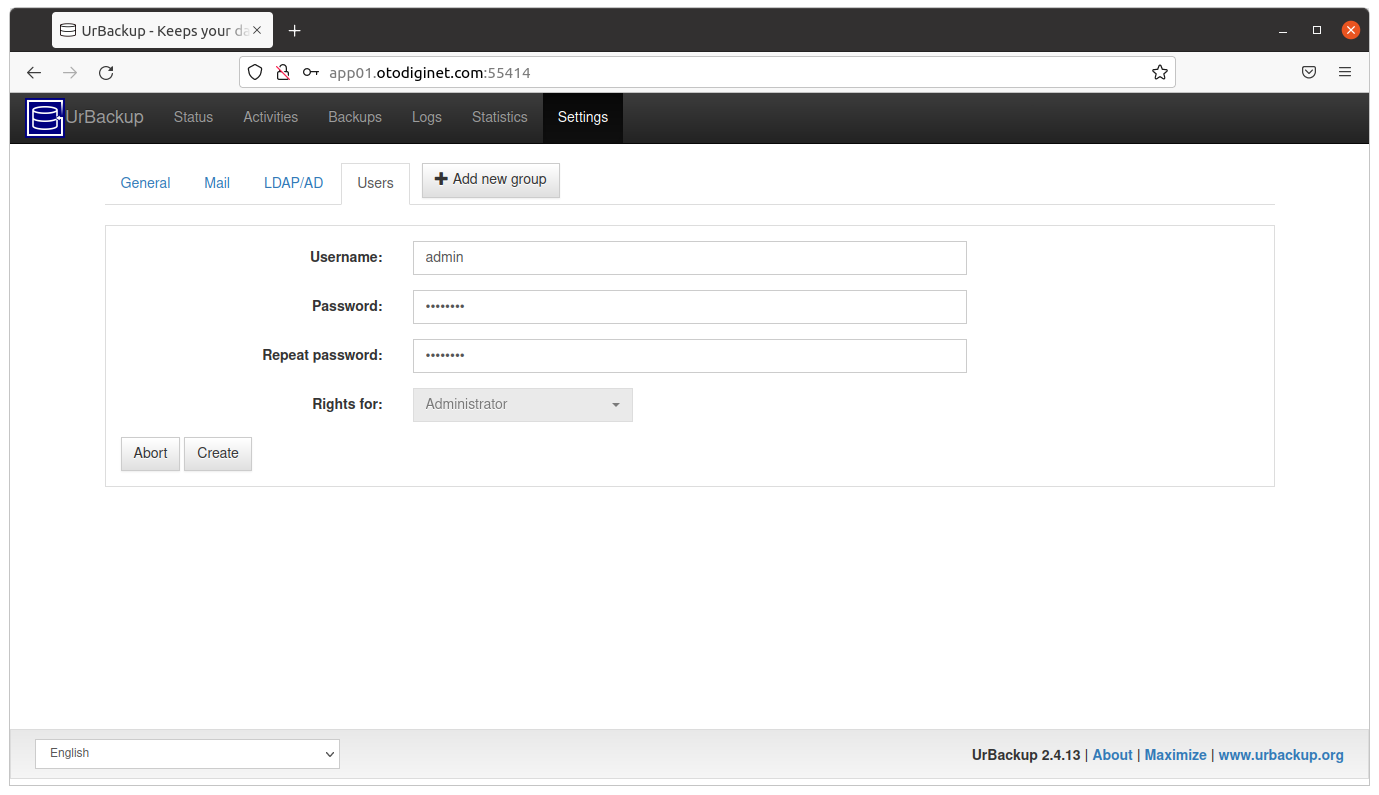
In this article we will learn how to install UrBackup, an Open Source client/server backup system on Ubuntu 20.04 LTS operating system.
UrBackup is a free and oper source backup software which is widely used today. UrBackup is an easy to setup Open Source client/server backup system, that through a combination of image and file backups accomplishes both data safety and a fast restoration time. On this tutorial we will learn how to install UrBackup Server application on Ubuntu 20.04 LTS operating system.
Installing UrBackup On Ubuntu 20.04 LTS
UrBackup installation on Ubuntu Linux will be consist of several steps as mentioned below :
- Adding UrBackup Repository
- Updating System
- Installing UrBackup Server Software
- Accessing UrBackup Web
1. Adding UrBackup Repository
In this step, we will add UrBackup repository to our Ubuntu packages system. The UrBackup will be using ppa:uroni/urbackup repository. Adding repository by using command line :
[sudo] password for mpik:
Efficient Client-Server Backup system for Linux and Windows. A client for Windows lets you backup open files and complete partition images. Backups are stored to disks in a efficient way (deduplication) on either Windows or Linux servers.
More info: https://launchpad.net/~uroni/+archive/ubuntu/urbackup
Press [ENTER] to continue or Ctrl-c to cancel adding it.
Get:2 http://security.ubuntu.com/ubuntu focal-security InRelease [114 kB]
Hit:3 http://ppa.launchpad.net/ondrej/php/ubuntu focal InRelease
. . .
Get:22 http://us.archive.ubuntu.com/ubuntu focal-backports/universe amd64 DEP-11 Metadata [10.4 kB]
Fetched 4,313 kB in 19s (227 kB/s)
Reading package lists... Done
2. Updating System
Hit:1 http://ppa.launchpad.net/ondrej/php/ubuntu focal InRelease
Hit:2 http://us.archive.ubuntu.com/ubuntu focal InRelease
Hit:4 http://security.ubuntu.com/ubuntu focal-security InRelease
Hit:5 http://us.archive.ubuntu.com/ubuntu focal-updates InRelease
Hit:6 http://ppa.launchpad.net/uroni/urbackup/ubuntu focal InRelease
Get:7 https://dlm.mariadb.com/repo/mariadb-server/10.6/repo/ubuntu focal InRelease [6,264 B]
Hit:8 http://us.archive.ubuntu.com/ubuntu focal-backports InRelease
Hit:3 https://downloads.mariadb.com/Tools/ubuntu focal InRelease
Hit:9 https://downloads.mariadb.com/MaxScale/6.1.1/apt focal InRelease
Fetched 6,264 B in 4s (1,665 B/s)
Reading package lists... Done
3. Installing UrBackup Server Software
Reading package lists... Done
Building dependency tree
Reading state information... Done
The following packages were automatically installed and are no longer required:
libevent-core-2.1-7 libevent-pthreads-2.1-7 libmecab2 libzip5 mecab-ipadic mecab-ipadic-utf8 mecab-utils
Use 'sudo apt autoremove' to remove them.
The following additional packages will be installed:
attr augeas-lenses btrfs-progs cpu-checker cryptsetup-bin db-util db5.3-util debootstrap dmeventd exfat-fuse
exfat-utils extlinux f2fs-tools finalrd hfsplus ibverbs-providers icoutils ipxe-qemu ipxe-qemu-256k-compat-efi-roms
kpartx ldmtool libafflib0v5 libaugeas0 libcacard0 libconfig9 libcrypto++6 libdate-manip-perl libdevmapper-event1.02.1
libewf2 libf2fs-format4 libf2fs5 libfdt1 libguestfs-hfsplus libguestfs-perl libguestfs-reiserfs libguestfs-tools
libguestfs-xfs libguestfs0 libhfsp0 libhivex0 libibverbs1 libintl-perl libintl-xs-perl libiscsi7 libldm-1.0-0
liblvm2cmd2.03 libnetpbm10 librados2 librbd1 librdmacm1 libslirp0 libspice-server1 libstring-shellquote-perl
libsys-virt-perl libtsk13 libusbredirparser1 libvirglrenderer1 libvirt0 libwin-hivex-perl libxml-xpath-perl libyara3
lsscsi lvm2 lzop mdadm msr-tools netpbm osinfo-db ovmf qemu-block-extra qemu-system-common qemu-system-data
qemu-system-gui qemu-system-x86 qemu-utils reiserfsprogs scrub seabios sharutils sleuthkit sqlite3 supermin
thin-provisioning-tools xfsprogs zerofree
Suggested packages:
augeas-doc duperemove arch-test squid-deb-proxy-client libterm-readline-gnu-perl | libterm-readline-perl-perl
augeas-tools libguestfs-gfs2 libguestfs-jfs libguestfs-nilfs libguestfs-rescue libguestfs-rsync libguestfs-zfs
gstreamer1.0-plugins-ugly default-mta | mail-transport-agent dracut-core samba vde2 sharutils-doc bsd-mailx | mailx
autopsy mac-robber sqlite3-doc xfsdump quota
Recommended packages:
linux-image-amd64
The following NEW packages will be installed:
attr augeas-lenses btrfs-progs cpu-checker cryptsetup-bin db-util db5.3-util debootstrap dmeventd exfat-fuse
exfat-utils extlinux f2fs-tools finalrd hfsplus ibverbs-providers icoutils ipxe-qemu ipxe-qemu-256k-compat-efi-roms
kpartx ldmtool libafflib0v5 libaugeas0 libcacard0 libconfig9 libcrypto++6 libdate-manip-perl libdevmapper-event1.02.1
libewf2 libf2fs-format4 libf2fs5 libfdt1 libguestfs-hfsplus libguestfs-perl libguestfs-reiserfs libguestfs-tools
libguestfs-xfs libguestfs0 libhfsp0 libhivex0 libibverbs1 libintl-perl libintl-xs-perl libiscsi7 libldm-1.0-0
liblvm2cmd2.03 libnetpbm10 librados2 librbd1 librdmacm1 libslirp0 libspice-server1 libstring-shellquote-perl
libsys-virt-perl libtsk13 libusbredirparser1 libvirglrenderer1 libvirt0 libwin-hivex-perl libxml-xpath-perl libyara3
lsscsi lvm2 lzop mdadm msr-tools netpbm osinfo-db ovmf qemu-block-extra qemu-system-common qemu-system-data
qemu-system-gui qemu-system-x86 qemu-utils reiserfsprogs scrub seabios sharutils sleuthkit sqlite3 supermin
thin-provisioning-tools urbackup-server xfsprogs zerofree
0 upgraded, 86 newly installed, 0 to remove and 406 not upgraded.
Need to get 46.5 MB of archives.
After this operation, 217 MB of additional disk space will be used.
Do you want to continue? [Y/n] Y
Get:1 http://ppa.launchpad.net/uroni/urbackup/ubuntu focal/main amd64 urbackup-server amd64 2.4.13.0-1ubuntu1~focal [3,531 kB]
$ sudo systemctl enable urbackupsrv
$ sudo systemctl status urbackupsrv
[sudo] password for mpik:
mpik@app01:~$ sudo systemctl enable urbackupsrv
urbackupsrv.service is not a native service, redirecting to systemd-sysv-install.
Executing: /lib/systemd/systemd-sysv-install enable urbackupsrv
mpik@app01:~$ sudo systemctl status urbackupsrv
● urbackupsrv.service - LSB: Server for doing backups
Loaded: loaded (/etc/init.d/urbackupsrv; generated)
Active: active (running) since Mon 2021-09-13 17:58:11 PDT; 1min 25s ago
Docs: man:systemd-sysv-generator(8)
Tasks: 17 (limit: 9436)
Memory: 19.6M
CGroup: /system.slice/urbackupsrv.service
└─1196 /usr/bin/urbackupsrv run --config /etc/default/urbackupsrv --daemon --pidfile /var/run/>
Sep 13 17:58:11 app01.otodiginet.com systemd[1]: Starting LSB: Server for doing backups...
Sep 13 17:58:11 app01.otodiginet.com systemd[1]: Started LSB: Server for doing backups.
4. Accessing UrBackup Web Interface
Conclusion
Thanks for reading How To Install UrBackup Server on Ubuntu 20.04 LTS. Please share...!


0 Komentar untuk "How To Install UrBackup Server on Ubuntu 20.04 LTS"